
Short answer: enough to walk a buyer through the whole home, and no more. For most homes in Central Maryland and Northern Virginia, that's 25 to 40 photos. A condo or a smaller townhome or rowhome can be covered in about 15. A large estate may need 60.
The right number depends on the home, not on a rule of thumb. Here's how we think about it.
Why photo count matters
Most buyers see your listing on a phone first, on Zillow, Redfin, Realtor.com or a site fed by Bright MLS. They scroll through the photos before they read a word of the remarks. Too few photos leaves them guessing about the rooms you skipped, and buyers often assume a missing room is a bad one. Too many photos, especially near-duplicates of the same room, makes the listing feel padded and wears people out before they reach the best spaces.
The goal is a complete, well-paced tour: every important space shown once from its best angle.
How many photos by home type
| Home type | Recommended photos |
|---|---|
| Condo, apartment, studio, or smaller townhome/rowhome | About 15 |
| Larger townhome or typical single-family | About 25 |
| Larger single-family (4+ bedrooms, finished basement, big lot) | About 40 |
| Estate or luxury property | About 60 |
These are the same tiers we use for our photo packages, and every package includes a 2D floor plan. Most of our agents book the 40-photo package, because a typical suburban home with a finished basement and a backyard fills that count easily without repeating itself.
What the MLS allows
Bright MLS allows up to 150 photos per listing. Most listings never come close to that, and they shouldn't. The real limit is the buyer's attention. One more thing to watch: some syndication sites show fewer photos than the MLS holds, so put your strongest images first.
Which shots to include, in what order
Order matters as much as count. Build the gallery the way a buyer would walk through the house:
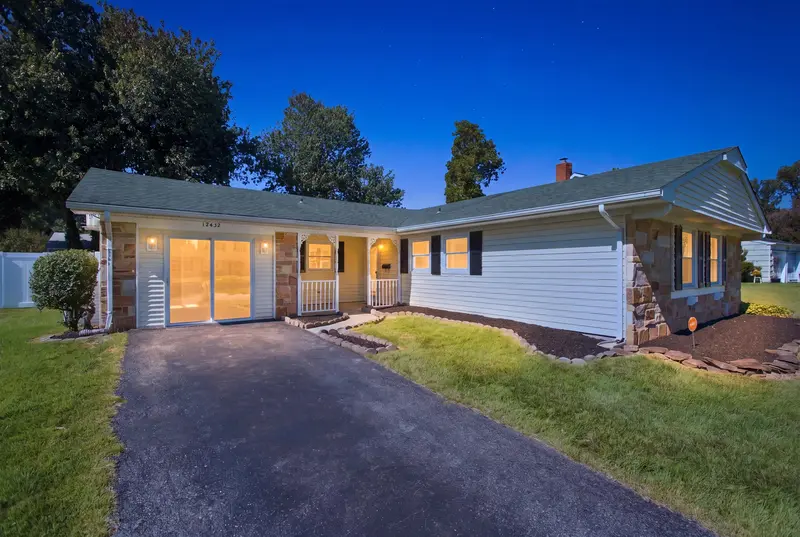
- Front exterior hero shot. This is your thumbnail everywhere, so lead with your best image. A twilight photo makes a strong first impression for homes that light up well.
- Second exterior angle or the approach to the front door.
- Entry and main living areas. Show the living room, family room and dining room.
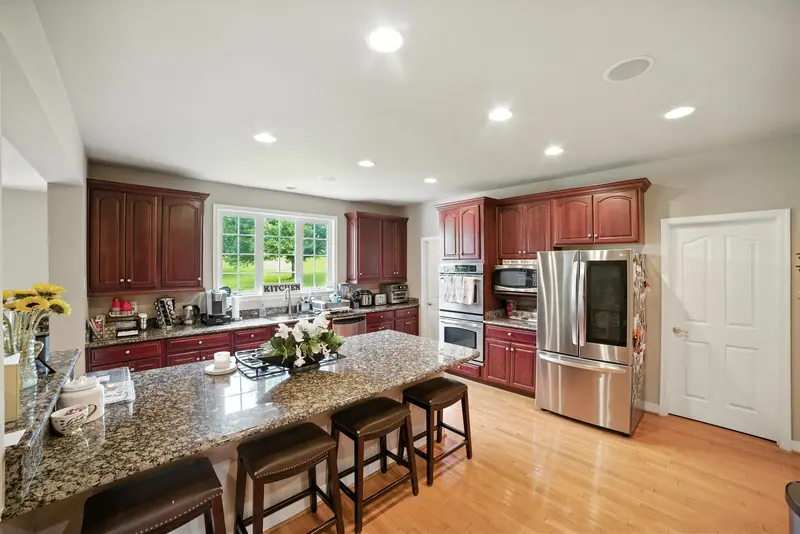
- Kitchen. Use two or three angles, because this is the room buyers look at hardest.
- Primary bedroom and primary bath.
- Secondary bedrooms and baths. One shot each is usually enough.
- Bonus spaces. Include the office, finished basement, laundry and garage if it's a selling point.
- Outdoor living. Show the deck, patio, backyard and any views.
- Neighborhood or community amenities, if relevant: the pool, clubhouse or walking trails.
- Floor plan last. Buyers who have scrolled this far want to see how it all fits together.
Common mistakes
- Leaving out rooms. Buyers notice a missing bathroom or a skipped basement and assume the worst.
- Uploading every shot from the shoot. Three near-identical bedroom angles slows the tour down. Pick the best one.
- Leading with a weak photo. Don't let an interior close-up or an overcast front shot be your thumbnail.
- Using vacant rooms with no sense of scale. Empty rooms often photograph smaller than they are. Virtual staging helps buyers picture how they'd live there.
- Skipping the floor plan. It answers the “where is everything?” question that photos can't.
- Shooting before the house is ready. Clutter and personal items cost more photos than they should. Our Getting Ready guide covers prep room by room.
Get the right number of photos for your listing
Not sure which package fits? Tell us the square footage and bedroom count when you book your shoot, or see our real estate photography packages and pricing. We'll make sure every room that sells the home makes it into the gallery.